
While they are still in season, go out and get a few pumpkins and make your own pumpkin puree! (Since the one you got in October got all carved up and turned into a Jack–O–Lantern for Halloween). There are many types of these delicious and nutritious fruits (technically it’s a fruit) to choose from–some are tastier or easier to chop up than others. You can use a regular giant pumpkin, it’s just pretty challenging to carve up and the flesh tends to be a little on the hard side. That said, I have totally done this, and once you cook it down, it’s great to freeze and use in all kinds of recipes. There is your regular pie pumpkin, which looks just like a mini version of the large orange ones. They are more manageable and have a little softer, sweeter flesh. Last year, I stumbled upon what is deemed by many and the best pumpkin, called the cheese pumpkin. It was pretty amazing. Lovely, light peachy color and squished looking. The flesh looked like a papaya inside! It was very soft, easy to cut and juicy and sweet. 
This year I bought an heirloom pumpkin from Trader Joe’s and enjoyed it as well.  After it was chopped and cooked though, I only ended up with a few servings to use and freeze. But it was yummy and now I’m going to show you step by step how to do it yourself!
First, choose pumpkin. After allowing it to be a great fall/winter decoration for week or two, thank it for a job well done and begin the process of making it into food. 
Next, cut it in half and scoop out the seeds and stringy insides. I don’t like to waste any seeds from pumpkins or other squashes, so rinse the seeds in a colander and get rid of all the slimy stuff. Then lie the seeds out on a drying towel–in a single layer–and let them completely dry out for several hours or overnight.

Scoop it out! TIP: use one of those grapefruit spoons with the teeth!
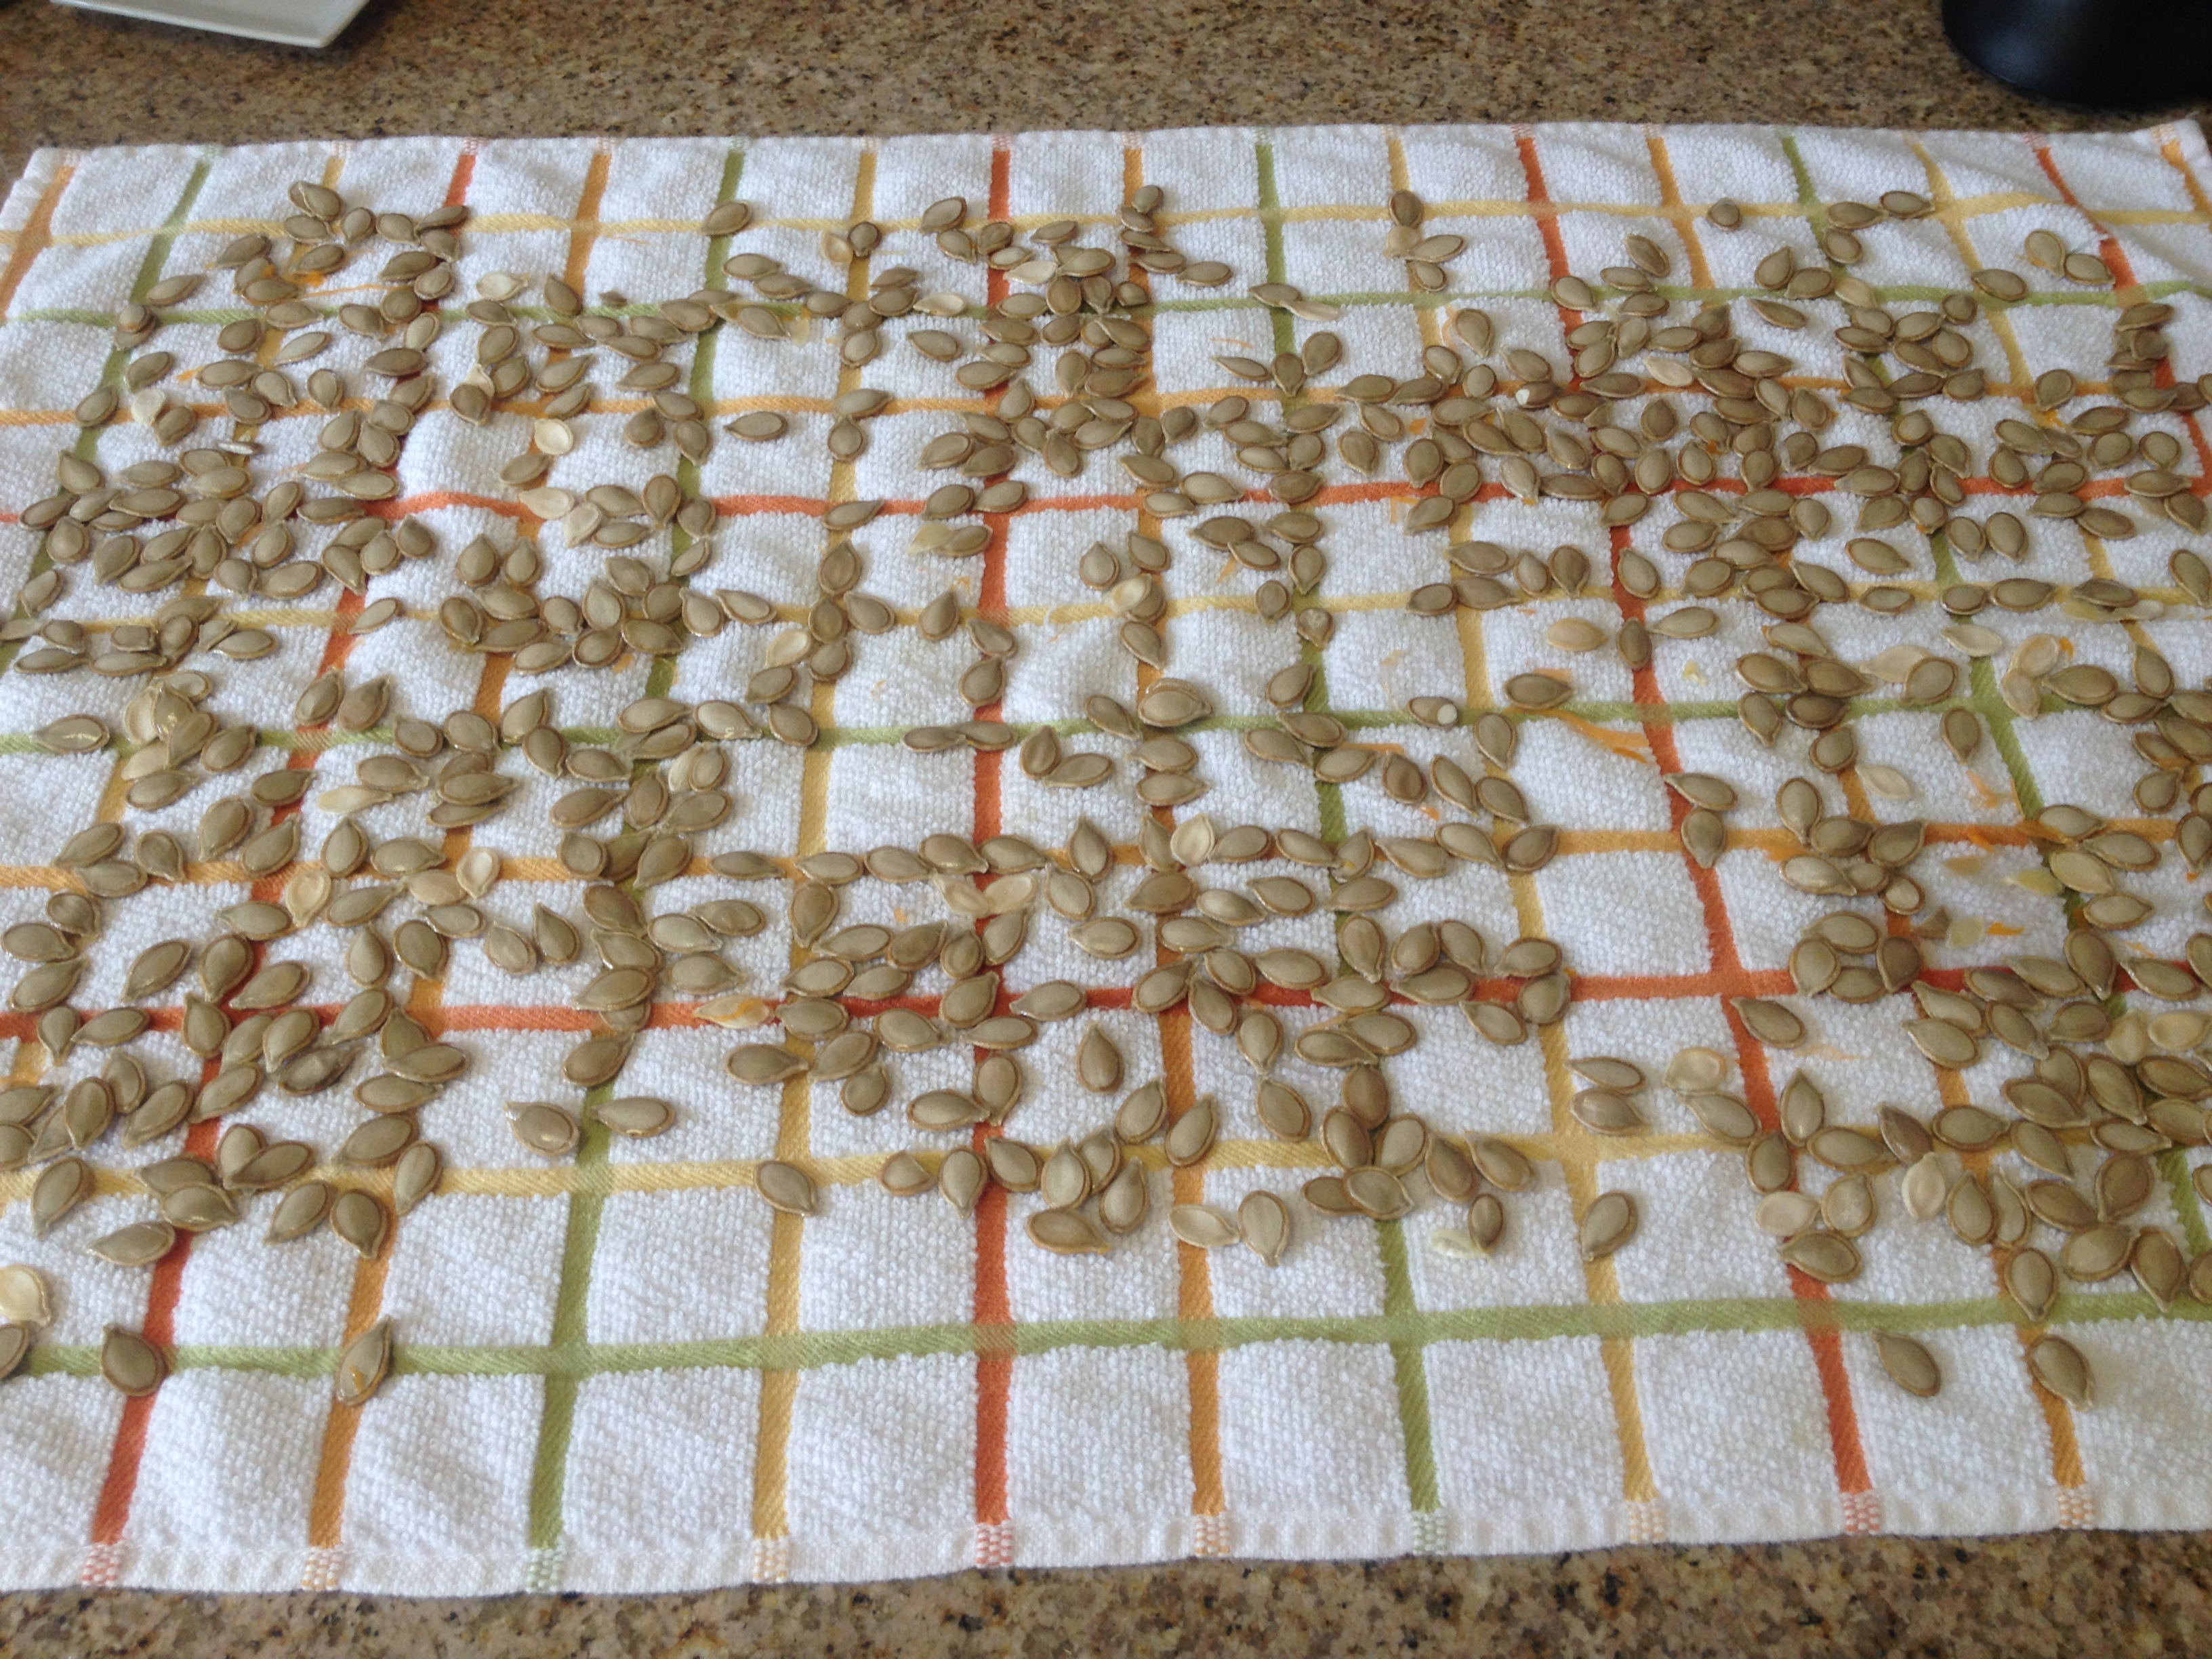
Lie out to dry

Wash
Back to the pumpkin…lie it open face down on a sheet pan that’s been slightly greased with something like coconut oil and place in the oven at 350 degrees for 30-45min or until you can easily stick a knife into the flesh. Then remove from the over and let cool just long enough that you can handle it–but don’t let it get cold. While it’s still warm, gently peel the outer shell off with a knife and your fingers.

Cutting/pulling off the outer layer after cooking
After it’s peeled, chop it into chunks and throw it in your Vitamix or food processor and process until smooth.

I didn’t my Vitamix with me in NY, so I just smooshed mine up by hand.
If you notice excess liquid as you begin to separate this into your freezer cartons or ziplocks, drain it out. (Maybe even give it a little squeeze as you go). I like to divide mine into either 1 or 2 cup portions and then freeze. Label and date it so you don’t forge when it was made. It will last you a good 1-2 years frozen. Leave some out in the fridge that you can use it over the next few days. Check out one of my favorite recipes…Pumpkin Pancakes.

Yum Yum. Finished product!
On another note…I have branched out of my normal routine and added a third location to life…St. Thomas USVI! Don’t worry, a new blog is on it’s way to tell you all about the adventures of CountryGalCityGal ISLAND EDITION!
xoxo
IslandGal?
